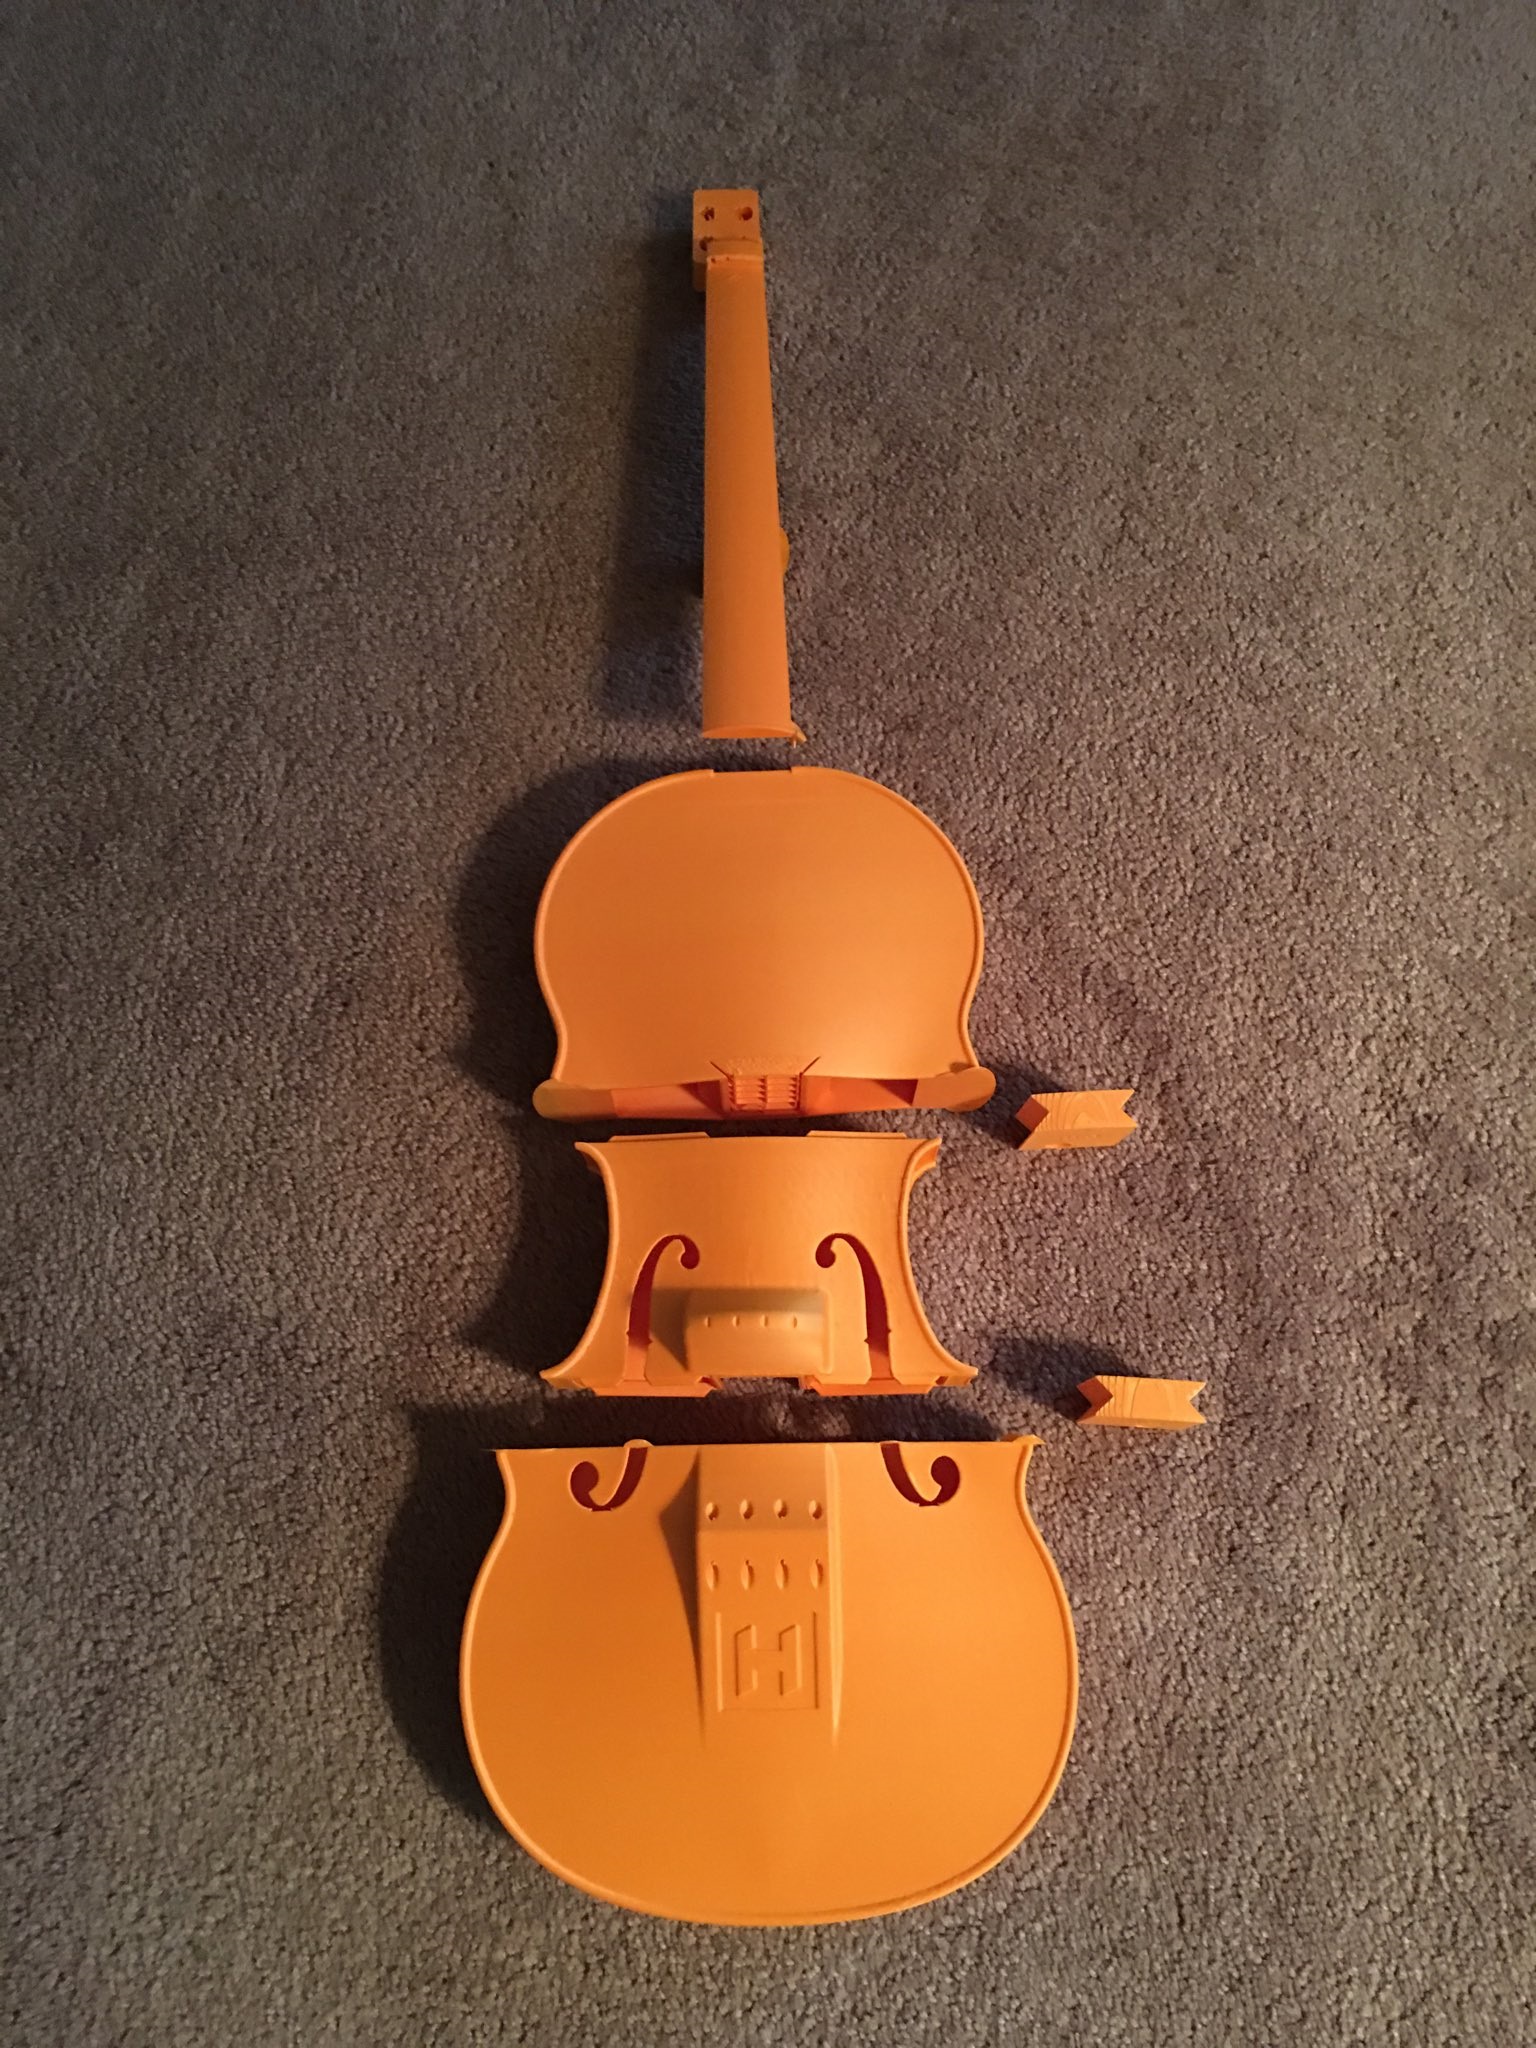
Cleanup of the 3D acoustic violin continues and which includes taking out all the extra bits and a little sanding with sandpaper on the edges, but as I really wanted the feel of the 3D printing on the violin, I left a lot of the grooves on.
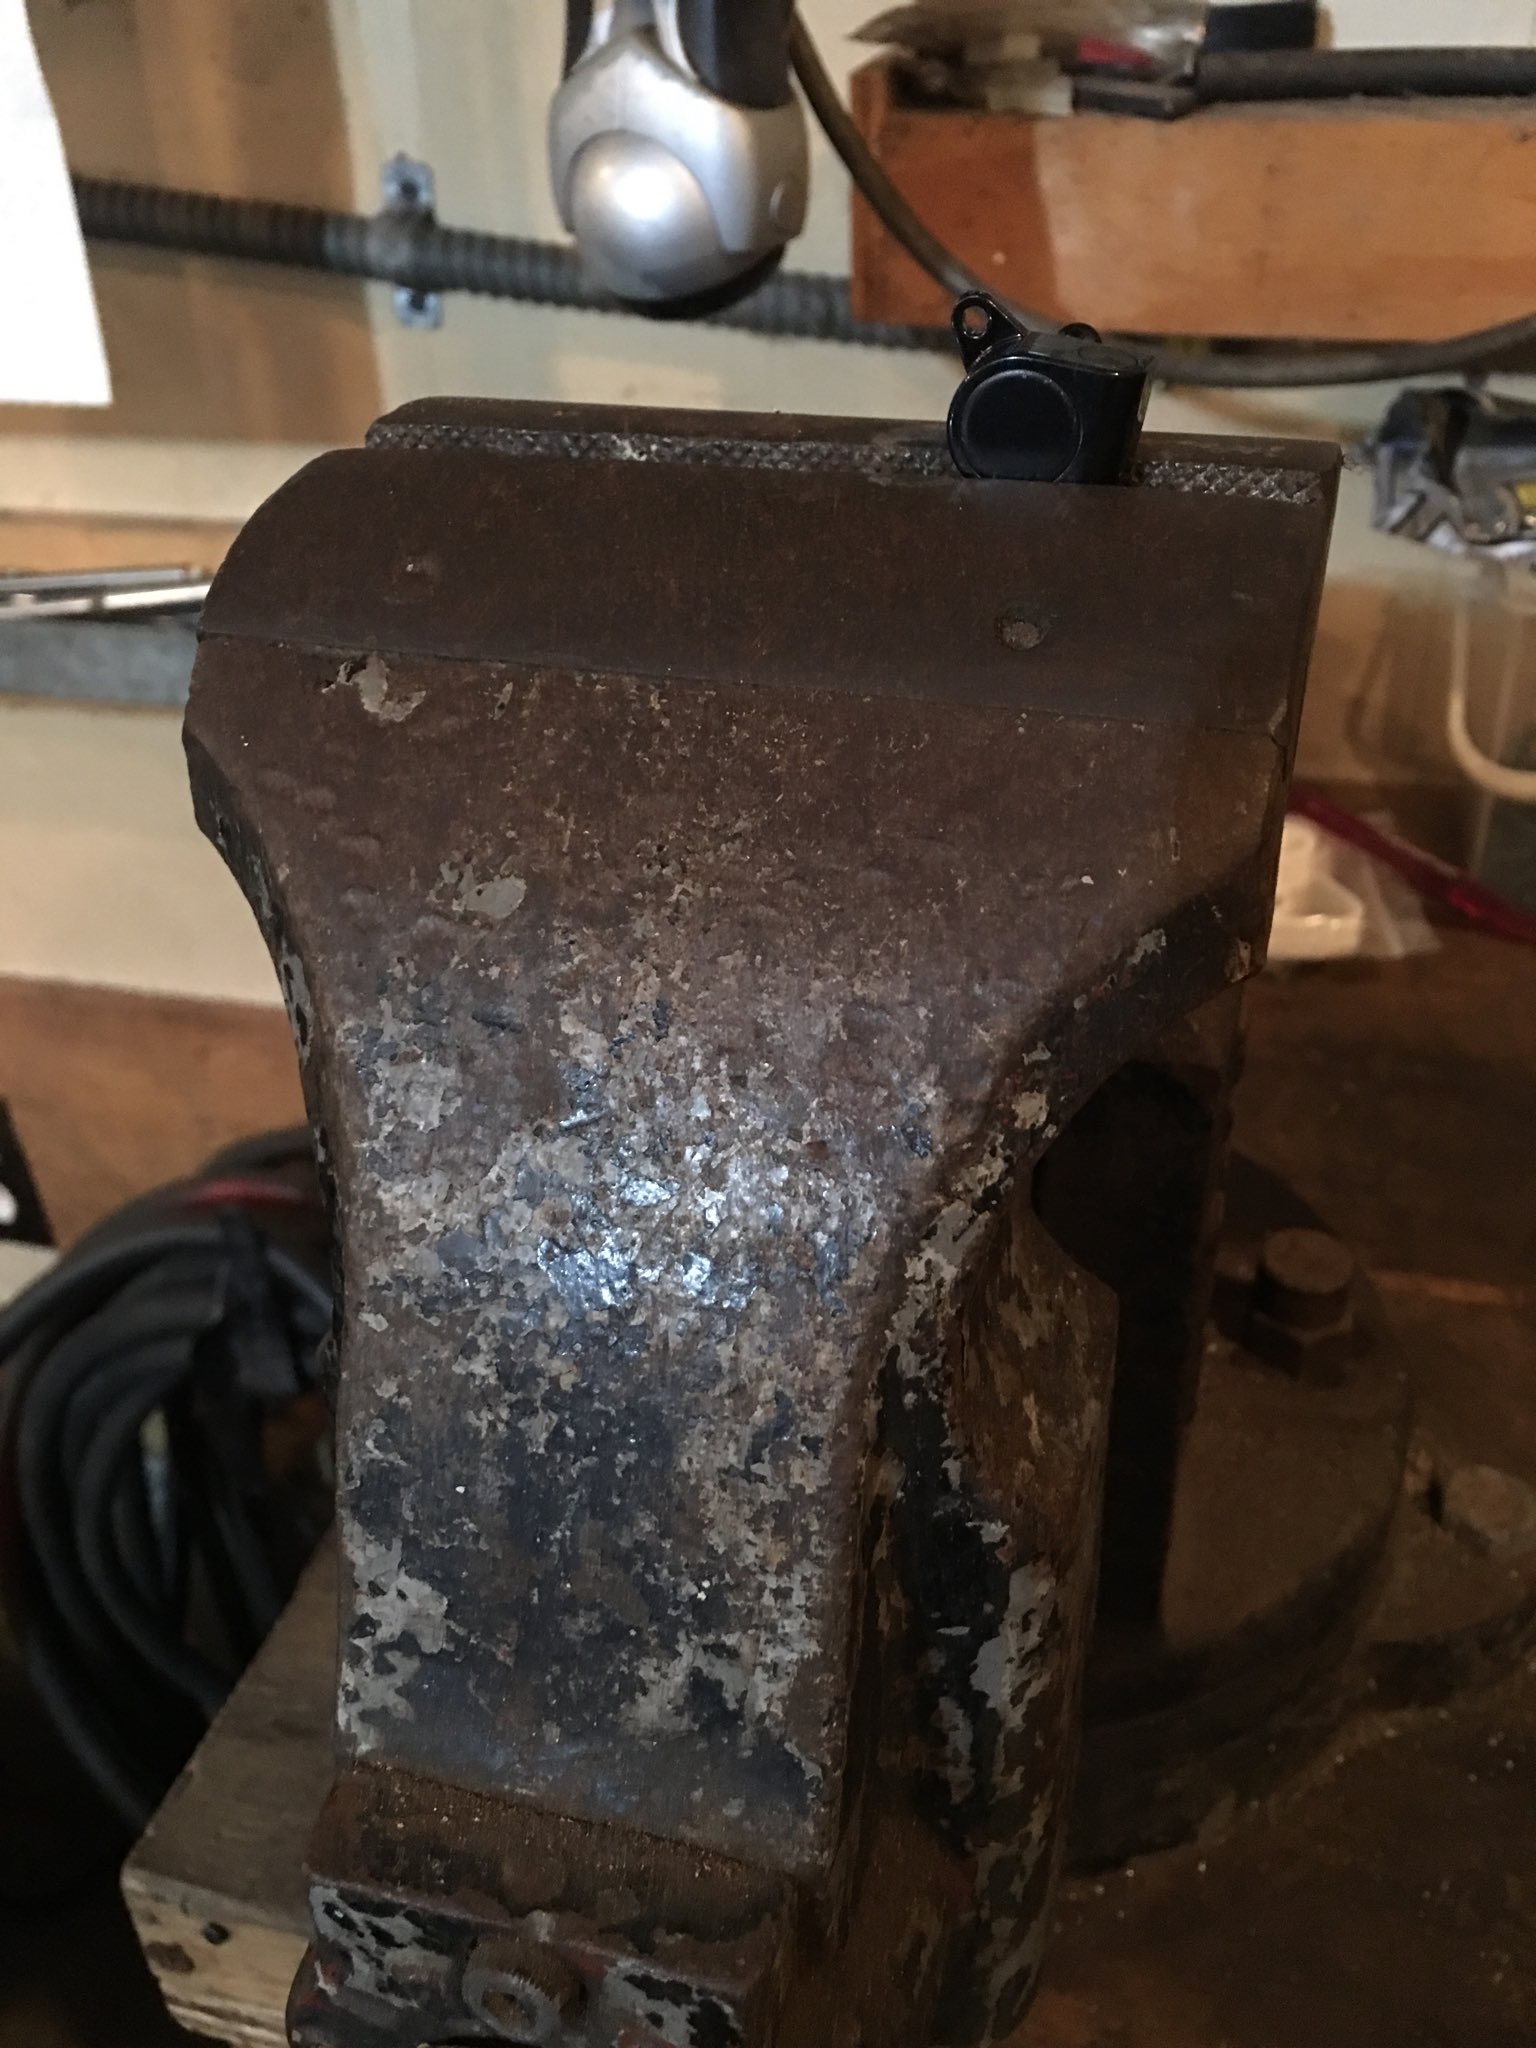
The instructions call for snapping off the tiny screw holes on the metal violin tuner/tuning pegs (6 pegs in the bag). The directions make it look super easy to do by hand, but it is not, I repeat, it is not an easy thing to do if your just holding it in your hand with a wrench. So the workaround is putting the peg in a vise and then snapping their little heads off.
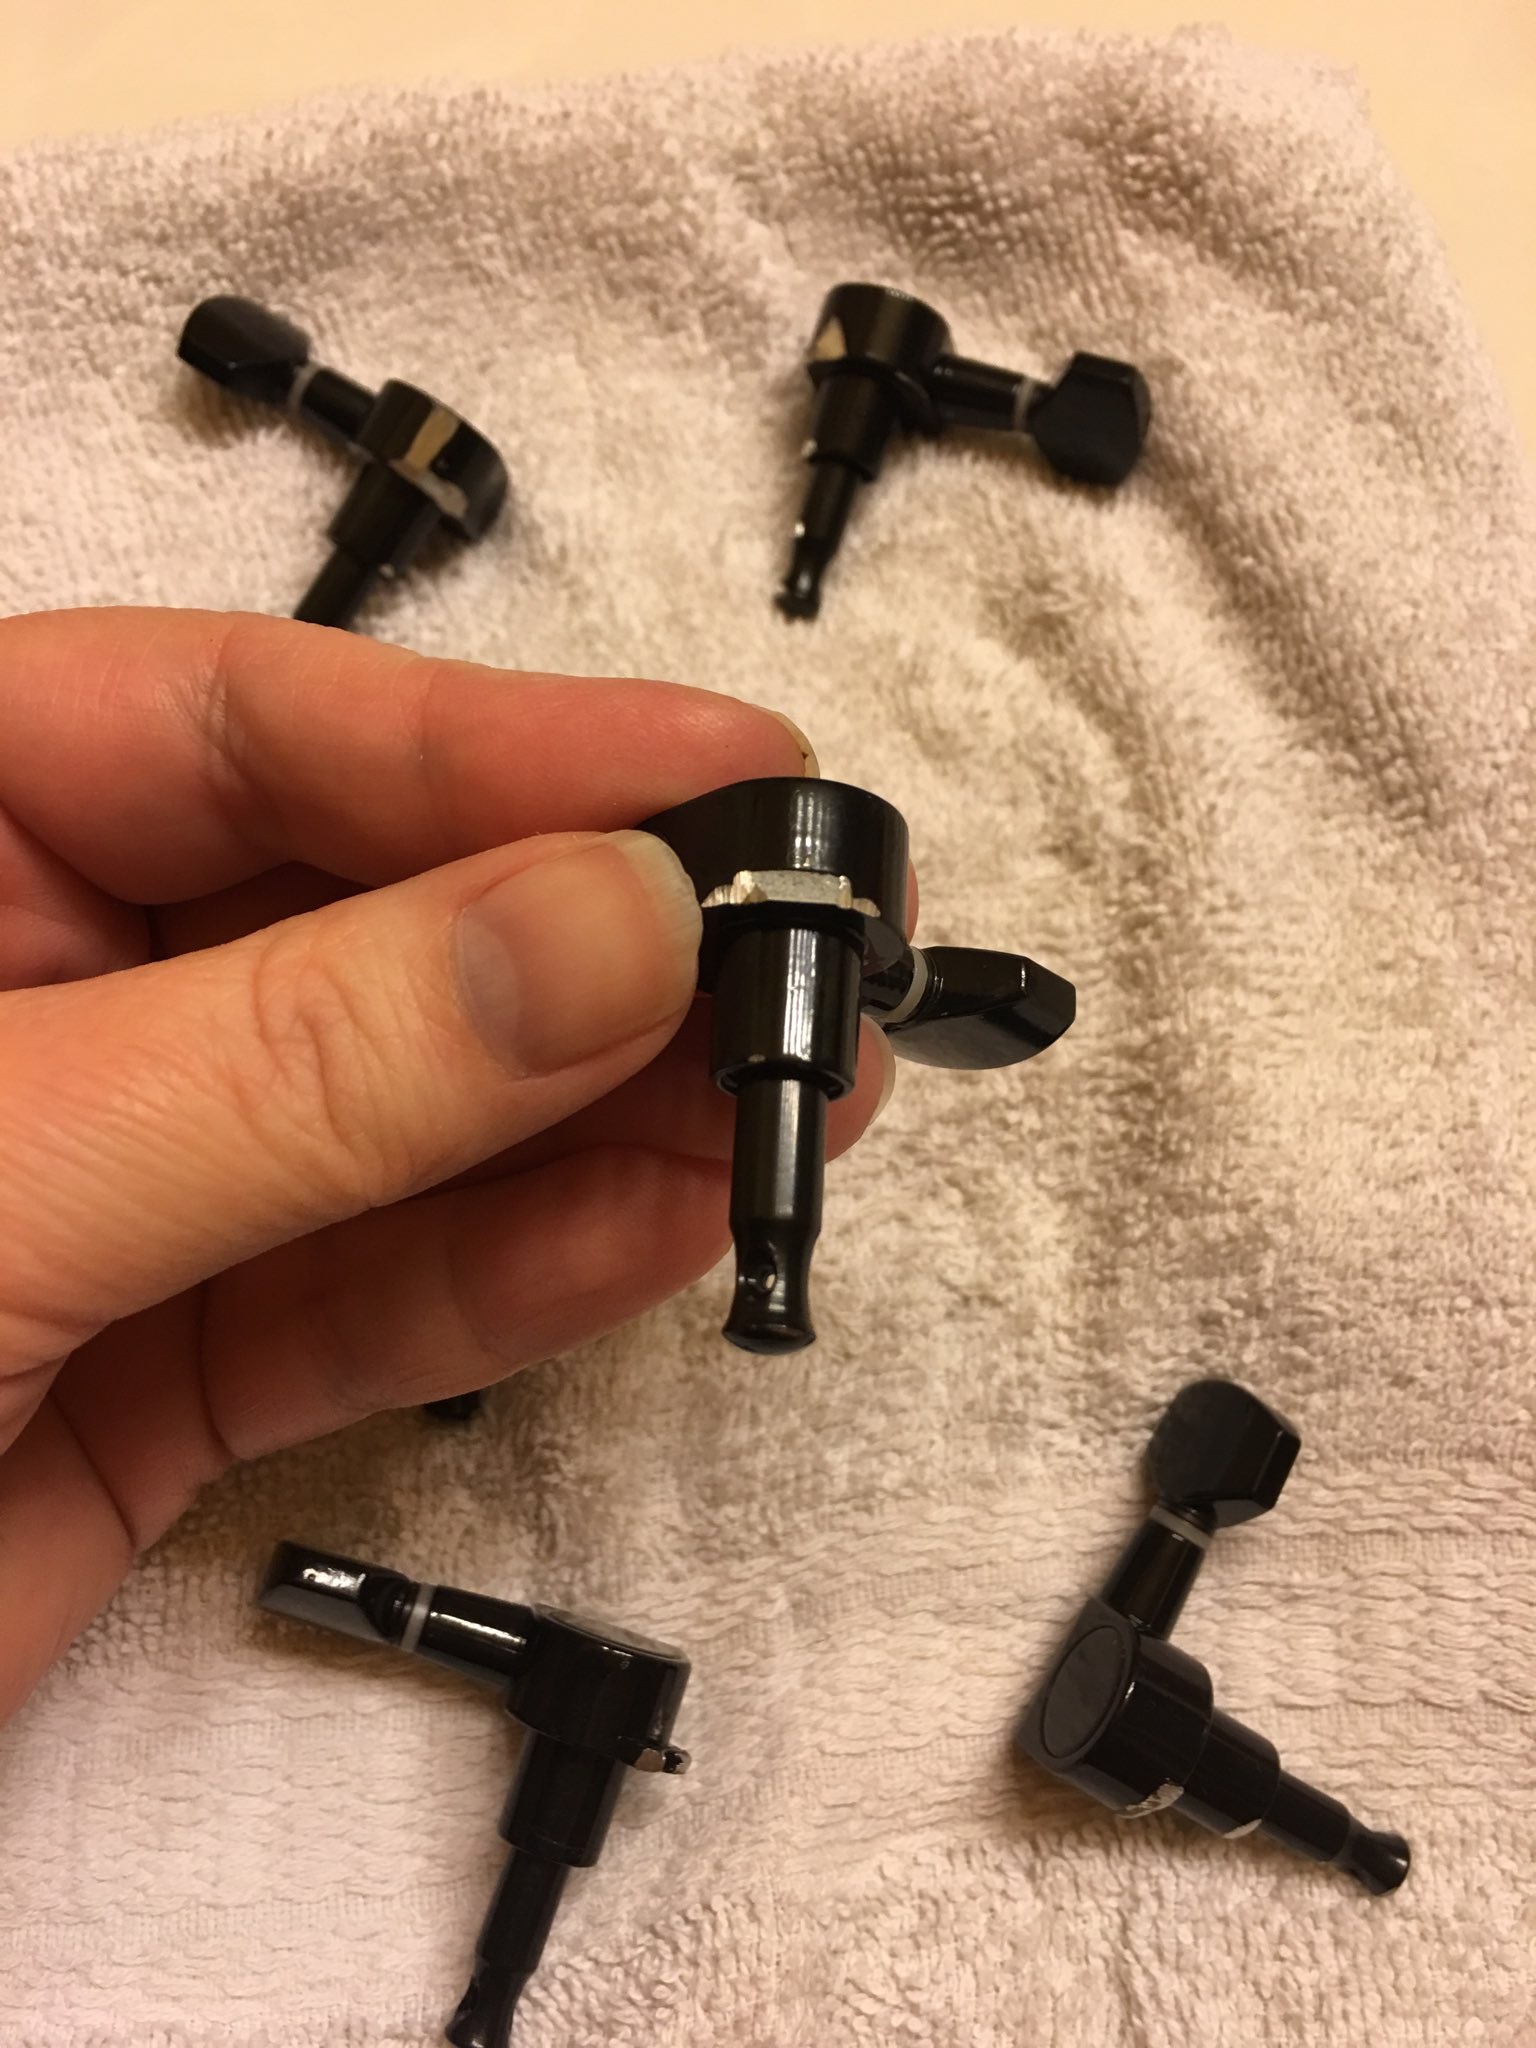
Power tools! You will soon notice that the tiny screw holes on the metal tuning pegs now have a sharp edge or two and you should probably sand them down. So I plugged in my dad’s electric grinder and ground away. No fingers were lost and no eyes were damaged when the sparks flew. I probably should have worn gloves and safety glasses. Oh well, live, learn, and try to keep all your body parts. Grinding off the little sharp edges were not mention in the 3D violin making instructions from Hova Labs.

When you snap off the tiny screw holes on the metal violin tuning pegs it takes away the black paint and then when you grid the pegs more paint comes off. A few more small details not mentioned in the 3D violin making instructions, but live and learn.
I also washed off the dust on the 3D violin parts and the metal violin tuning pegs, as little pieces of plastic and metal are not really good to be leaving around the house.